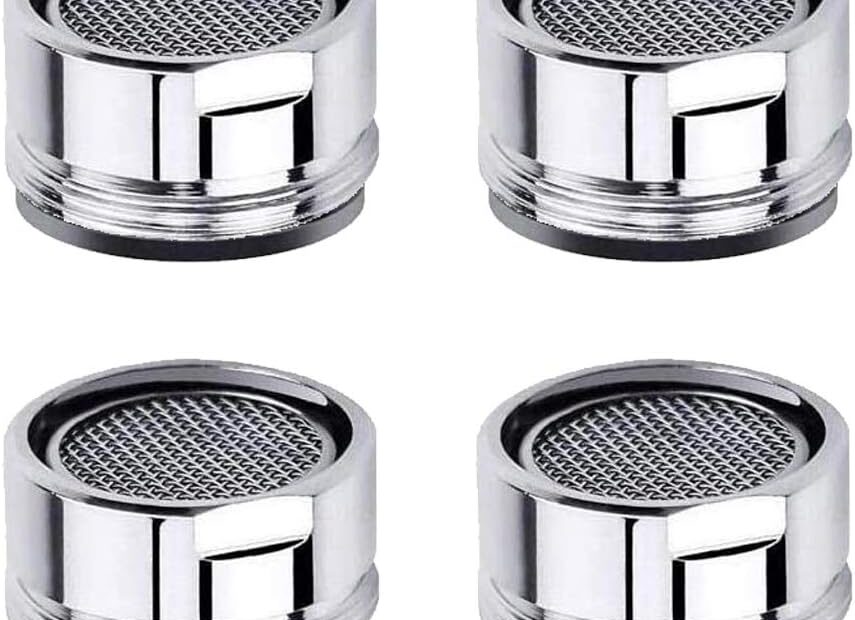
Today, I’m gonna walk you through a task that seems simple but often gets folks scratching their heads – how to remove kitchen faucet aerator. Sound like fun? Stick with me, and we’ll get it done, no sweat!
Why You Might Need to Remove It
First things first. You might be wondering, “Why would I want to remove the aerator from my kitchen faucet?” Good question! Here are a few reasons:
- Low Water Pressure: If your faucet’s water stream is weak or uneven, a clogged aerator might be the culprit.
- Uneven Spray: Sometimes minerals and debris can clog it up causing the water to spray all over.
- New Aerator: Maybe you’re upgrading to a new one with better features.
Gather Your Tools
Before we get started, make sure you have the following tools handy:
- Pliers
- Masking Tape
- Vinegar
- Wrench
- Soft-bristle brush
Isn’t it frustrating when you get half way through a project and realize you’re missing something? Yeah, don’t let that be you.
Step-by-Step Guide to Removing the Aerator
Step 1: Identify Your Aerator
Is your aerator a standard screw-on model? Or is it hidden, making it a bit trickier to remove? Take a close look. You ought to find it at the tip of the faucet.
Step 2: Protect the Aerator (Optional but Recommended)
Wrap some masking tape around the aerator. Why? This helps prevent any scratches or damages when you start using tools. Trust me, you don’t want to make things worse.
Step 3: Use Your Hands First
Try to unscrew the aerator with your hands. Sometimes, that does the trick. Rotate it counterclockwise (lefty-loosey) and see if it budges. No luck? Let’s get more serious.
Step 4: Bring Out the Pliers
Here’s where the pliers come in.
Table: Steps for Using Pliers
| Step | Action |
|---|---|
| 1 | Wrap aerator with tape |
| 2 | Grab pliers |
| 3 | Hold aerator |
| 4 | Twist counterclockwise |
Gently, but firmly, grip the aerator with the pliers. Twist it counterclockwise. If it won’t budge, you might have some build-up causing it to stick.
Step 5: Stuck? Use Vinegar
Grab some vinegar and a small bowl. Vinegar is great for breaking up mineral build-ups.
- Pour the vinegar into the bowl.
- Soak a cloth in it.
- Wrap the wet cloth around the aerator. Leave it for about an hour.
Step 6: Try Again
Once you’ve let the vinegar do its magic, try unscrewing the aerator once more. With the build-up softened, it should be easier to remove.
Step 7: Clean the Aerator
Now that the aerator’s off, you’ll want to clean it. Disassemble the tiny parts carefully. Rinse them under running water, and if needed, use a soft-bristle brush to remove any stubborn debris or minerals.
| Part | Cleaning Solution |
|---|---|
| Screen | Water and soft brush |
| Washer | Vinegar bath |
| Housing | Soap and Water |
Step 8: Inspect and Replace
Check the aerator for any damage. If everything looks good, reassemble and screw it back onto the faucet. If it’s beyond saving, you’ll need to replace it with a new one.
Did we miss something? Actually, these steps should cover you.
How to Prevent Future Problems
To avoid having to struggle with the same issue down the line, here are some preventative tips:
- Regular Cleaning: Clean your aerator every few months to prevent build-ups.
- Water Softener: If you live in a hard water area, consider a water softener for your home.
- Routine Checks: Check for any signs of wear and tear regularly.
Some Final Thoughts
Removing a kitchen faucet aerator isn’t rocket science, but it does require some patience and the right tools. I hope you found this guide helpful. It’s amazing what a bit of regular maintenance can do for your kitchen faucet’s performance!
That’s a wrap! If you still have queries, feel free to ask in the comments below. Happy fixing!
Catch you later!
