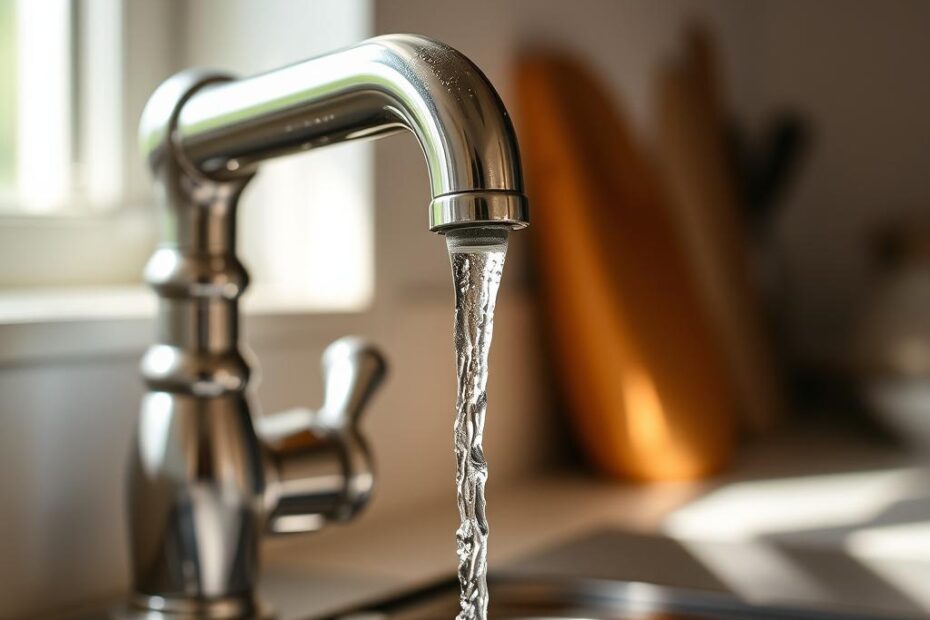
So, if you’re like me, nothing is more annoying than that dripping sound coming from your kitchen faucet. Seriously, it can drive you nuts! After some time, the constant “drip, drip, drip” can really get on your nerves—like a leaky faucet has its own soundtrack. But don’t fret! I’ve got some tips to help you fix that pesky problem.
Why Is My Faucet Dripping?
Great question! Before diving into the how-to fix it, let’s first understand why your kitchen faucet is dripping in the first place. Most of the time, it’s due to worn washers, damaged O-rings, or maybe loose screws. It could even just be a build-up of minerals (thanks, hard water!). Whatever the reason, it’s usually an easy fix.
Tools You’ll Need
Before you roll up your sleeves, let’s make sure you’ve got everything you need. Here’s a quick list:
- A screwdriver (flathead or Phillips, depending on your faucet)
- Pliers or wrench (to remove any stubborn parts)
- Replacement washers (make sure to check the size!)
- O-rings (again, check sizes)
- Plumber’s grease (for smooth installation)
- A towel (to catch water)
Having these tools handy will make your repair a breeze!
Step 1: Turn Off the Water Supply
Ah, the most important step! You don’t want a mini waterfall in your kitchen. Look under your sink for the water supply valves—usually, there are two, one for hot and one for cold. Turn them clockwise until they stop. If you don’t see those valves, you might have to turn off the main water supply to your home. Don’t worry, you can always turn it back on after you’ve finished your little plumbing project.
Step 2: Drain the Faucet
Once the water is off, let’s drain the remaining water from the faucet. Simply turn the faucet on; it’ll let out a little remaining water and you’ll be ready to fix what’s broken. Doesn’t it feel good to take those first steps?
Step 3: Remove the Handle
Now, it’s time to get to work on that handle. Depending on your faucet model, you may need to use a screwdriver to remove a decorative cap first, revealing the screws beneath. After removing those screws, gently pull the handle off. If it seems stuck, try wiggling it back and forth. A little patience goes a long way here!
Step 4: Take Out the Cartridge or Valve
Great! You’ve removed the handle, but you’ll need to dig deeper. Most kitchen faucets have either a cartridge or valve. To pull it out, you might need to remove a retaining nut using your pliers or wrench. Be sure to take note of how everything fits together, it’s like a tiny puzzle! If you’re worried about remembering the order, snapping a photo can really help.
Step 5: Inspect and Replace Washers and O-Rings
Now that you have the cartridge or valve easily accessible, take a good look at those washers or O-rings. Are they cracked or worn out? If yes, it’s time for new ones! Remove them carefully, and head to the hardware store with the old ones so you can find an exact match. Remember, even the smallest detail matters here!
Step 6: Reassemble the Faucet
After you’ve got those shiny new washers and O-rings, it’s time to put everything back together. Apply some plumber’s grease to the new washers for a better seal. Slide everything back into place just like it was before, following your earlier notes or photos. Reattach the handle and screw everything back together tightly. Remind yourself to take it easy on that wrench; over-tightening can cause more issues than it solves!
Step 7: Turn the Water Back On
Alright, moment of truth! Slowly turn the water supply back on. Head back up to your faucet and slowly turn it on as well. If the drip is gone, congratulations! You’ve done it.
What If It’s Still Dripping?
Uh-oh, if your faucet is still dripping, don’t lose hope. Sometimes it’s not just the washer that’s the issue. You could be looking at a faulty faucet cartridge or even a deeper problem with your plumbing. If you suspect a more serious issue, consider calling in a professional plumber for help.
Preventing Future Drips
Once you’ve successfully fixed that drip, you might be wondering how to keep it from coming back. Regular maintenance is key! Here are a few things you might wanna consider:
- Tighten Screws: Make sure all those screws are tight from time to time.
- Inspect Washers: Every few months, check those washers and O-rings.
- Reduce Hard Water: If hard water is an issue in your area, consider investing in a water softener to reduce mineral build-up.
Conclusion
So, there you have it! Fixing that dripping kitchen faucet isn’t as daunting as it may seem. It’s all about having the right tools, understanding the problem, and a bit of patience. Plus, with a little bit of practice, you’ll be the go-to plumbing guru in your friend group—because who doesn’t want to be a hero in your kitchen?
Remember, the satisfaction of fixing things yourself is priceless. No more “drip, drip, drip” in your kitchen. Just peace and quiet, possibly with a side of applause for fixing it all on your own. Happy fixing!
