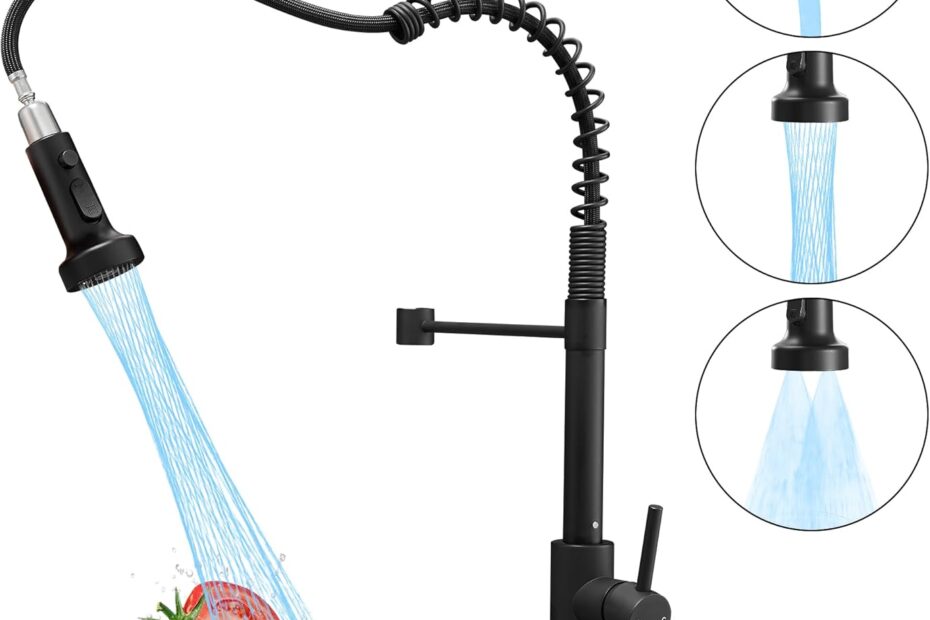
So, you want clean your kitchen faucet sprayer, huh? Well, you’ve come to the right place. Cleaning this little gizmo can be a real game-changer. Trust me, it will make your sink sparkle and water flow smoothly. Let’s dive in!
Tools and Supplies You’ll Need
Before we start, let’s gather all the stuff we need. Here’s a quick table to keep things organized:
| Tool/Supply | Why You Need It |
|---|---|
| Screwdriver | For taking apart the sprayer. |
| Vinegar | A great natural cleaner. |
| Toothbrush | Perfect for scrubbing. |
| Bucket | For soaking parts. |
| Soft Cloth | Wiping down everything. |
| Paper Towels | For drying. |
Note: Always check the manufacturer’s guide for specific recommendations.
Step-by-Step Cleaning Process
1. Turn Off the Water Supply
First things first, turn off the water supply. You don’t want a flooded kitchen, do ya? Usually, there are valves under the sink. Turn them clockwise. Done? Great!
2. Remove the Sprayer Head
Next, twist off the sprayer head. Hold the hose with one hand, and use the other to unscrew the head.
If it’s a bit stubborn, don’t force it. Instead, gently wiggle it back and forth.
Pro Tip: Use a rag to get a better grip and avoid scratching the faucet.
3. Soak in Vinegar
Now comes the fun part! Fill a bucket with equal parts of vinegar and water. Submerge the sprayer head and let it soak for about an hour. Vinegar breaks down mineral buildup.
| Step | Action |
|---|---|
| Fill Bucket with Vinegar Solution | Equal parts vinegar and water. |
| Submerge Sprayer Head | Let it soak for about an hour. |
4. Scrub a Dub-Dub
After soaking, take your handy toothbrush and start scrubbing. Pay close attention to nozzles and small holes. Scrub, scrub, scrub till it’s gleaming.
5. Check for Clogs
Hold the sprayer up to the light and check for any clogs. If you spot any, poke them out with a toothpick. Be gentle!
Common Issue: Clogged nozzles often cause uneven spray patterns.
6. Rinse Thoroughly
Rinse the sprayer head under warm water. Make sure all the vinegar and loosened grime are washed off.
Quick Tip: Run the water through backward to flush out any stubborn debris.
7. Wipe Down the Hose
Don’t forget the hose! Wipe it down with a soft cloth and some vinegar solution. This will get rid of any gunk and buildup.
8. Reassemble and Reconnect
Screw the sprayer head back onto the hose. Easy peasy lemon squeezy, right? Now, turn the water supply back on. Test the sprayer to make sure everything’s working perfectly.
Additional Tips for Maintenance
Weekly Wipe Down
Give the faucet and sprayer a quick wipe-down every week. This keeps gunk from building up.
Monthly Deep Clean
Do a deep clean once a month. Soak the sprayer head in vinegar and scrub it like we just did.
Expert Insight: Consistent cleaning prolongs the life of your faucet.
Replace Worn Parts
If you notice any parts wearing out, replace them. It’s cheaper and easier to replace a small part than the whole faucet.
Frequently Asked Questions (FAQs)
1. What if my sprayer head is still clogged?
If your sprayer head is still clogged after cleaning, it might be time for a replacement. Some blockages can’t be removed with regular cleaning.
2. Can I use bleach instead of vinegar?
Nope. Bleach is too harsh and can damage the internal components. Stick to vinegar or a mild dish soap solution.
| Question | Answer |
|---|---|
| What if my sprayer is still clogged? | Consider replacing the sprayer head. |
| Can I use bleach? | No, it’s too harsh. Use vinegar or mild soap. |
3. Why does my sprayer have low water pressure?
Low water pressure could be due to clogs, a faulty diverter, or a kinked hose. Cleaning the sprayer often solves this issue.
4. How often should I clean my kitchen faucet sprayer?
A small wipe down every week and a deep clean every month is ideal. Consistency is key.
Conclusion
So there you have it, folks. Cleaning a kitchen faucet sprayer isn’t rocket science, but it does require a bit effort. Regular cleaning can extend the life of your faucet and keep your kitchen running smoothly. So grab some vinegar and a toothbrush, and get to it. Happy cleaning!
Feel free to share your own tips and tricks in the comments below. We’re all ears! 👂
