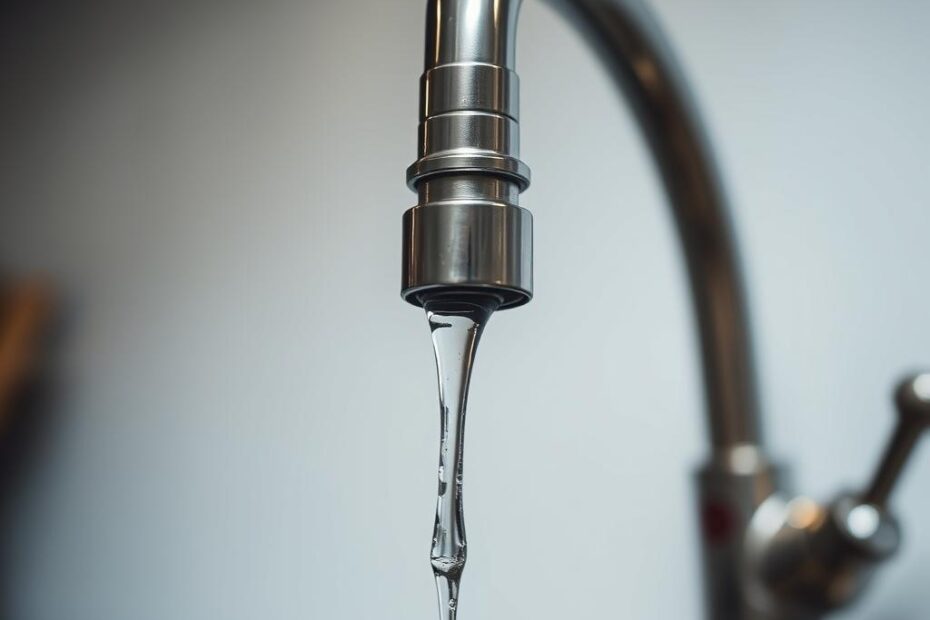
Hey there! Ever woke up to that constant drip-drip from your kitchen faucet, driving you nuts? I sure have. It’s more than just a noise issue. Wasting water like that can rack up bills and is just plain annoying. So today, I’ll walk you through how to stop that pesky drip. Buckle up!
Why Fixing a Dripping Faucet is Important
Cost Efficiency
A drip per second can waste 3,000 gallons a year! Imagine the water bill. Crazy, huh?
Environmental Impact
Water conservation matters. Saving water helps our planet stay green.
Peace of Mind
That drip can ruin a peaceful home. Silence it and sleep well.
Gather Your Tools
First things first, you’ll need some tools. Here’s a quick table:
| Tool | Purpose |
|---|---|
| Adjustable Wrench | Loosening/Tightening the faucet parts |
| Screwdriver | Removing screw |
| Plumber’s Tape | Sealing threads |
| Replacement Parts | For faulty components |
| Cloth or Towel | Drying and cleaning |
Easy peasy, right? Let’s dive in.
Identify The Type of Faucet
Kitchen faucets come in four main types:
- Compression Valve Faucets
- Ball Valve Faucets
- Cartridge Faucets
- Ceramic Disk Faucets
Each type has a different mechanism. Identifying yours is crucial for the fix.
Step-by-Step Guide for Each Faucet Type
1. Compression Valve Faucets
These are the oldest types. They have separate handles for hot and cold water. Here’s how you fix them:
Step 1: Turn Off Water Supply
Locate the shut-off valve under the sink. Turn it clockwise to cut off the water supply. Open the faucet to drain remaining water.
Step 2: Remove Handle and Valve
Use a screwdriver to remove the handle. Then, use the wrench for the valve stem.
Step 3: Inspect and Replace Washer
Check the rubber washer at the valve’s bottom. If it’s worn out, replace it.
Step 4: Reassemble and Test
Put everything back and turn on the water. Check if the leak is gone.
2. Ball Valve Faucets
Popular in modern kitchens. They control water temperature with a single handle. Here’s how to fix them:
Step 1: Turn Off Water Supply
Repeat the steps from the compression valve faucets.
Step 2: Remove Handle and Ball Assembly
Unscrew the handle and remove the ball assembly using pliers.
Step 3: Check Seals and Springs
Inspect the seals and springs. Replace faulty ones from a ball faucet repair kit.
Step 4: Reassemble and Test
Put it all back and test for leaks. Easy stuff.
3. Cartridge Faucets
These have a cartridge that controls water flow. Simple to repair too.
Step 1: Turn Off Water Supply
Always step one.
Step 2: Take Off Handle
Use a screwdriver or hex wrench.
Step 3: Remove Cartridge
Pull it out using pliers.
Step 4: Inspect O-Rings
Check the O-Rings for wear. Replace if needed.
Step 5: Reassemble and Test
Put back the cartridge. Test for drips.
4. Ceramic Disk Faucets
These are advanced and durable. Yet, they might drip too.
Step 1: Turn Off Water Supply
Again, cut off the water first.
Step 2: Remove Handle and Ceramic Cartridge
Unscrew the handle. Carefully remove the ceramic disk.
Step 3: Clean and Inspect the Disk
Sometimes dirt causes the leak. Clean with vinegar. If cracked, replace it.
Step 4: Reassemble and Test
Reinstall the disk. Check for leaks.
Regular Maintenance Tips
Ensuring your faucet lasts long involves regular care. Here are some quick tips:
- Clean Regularly – Hard water can cause buildup.
- Check Seals – Inspect seals every few months. Replace if worn.
- Tighten Screws – Loose screws can lead to future issues.
- Use Quality Parts – Don’t go cheap on replacements.
When to Call a Professional?
Sometimes DIY isn’t enough. Call a plumber if:
- The leak persists after your best efforts.
- Faucet components appear damaged beyond simple repair.
- You’re unsure about the process.
Conclusion
Fixing a dripping kitchen faucet isn’t rocket science. With the right tools and patience, you can save money and peace-of-mind. Hopefully, this guide helps you sleep easier, without the drip-drip lullaby. Keep your kitchen dry and your wallet happy! Oh, and your planet will thank you. 🌍
Quick FAQs
Q: How long can a kitchen faucet last?
A: Around 15-20 years with good maintenance.
Q: Can I use plumber’s tape on every part?
A: Only on threads that need sealing.
Q: Are expensive faucets worth it?
A: Generally, yes. Higher quality and durability.
