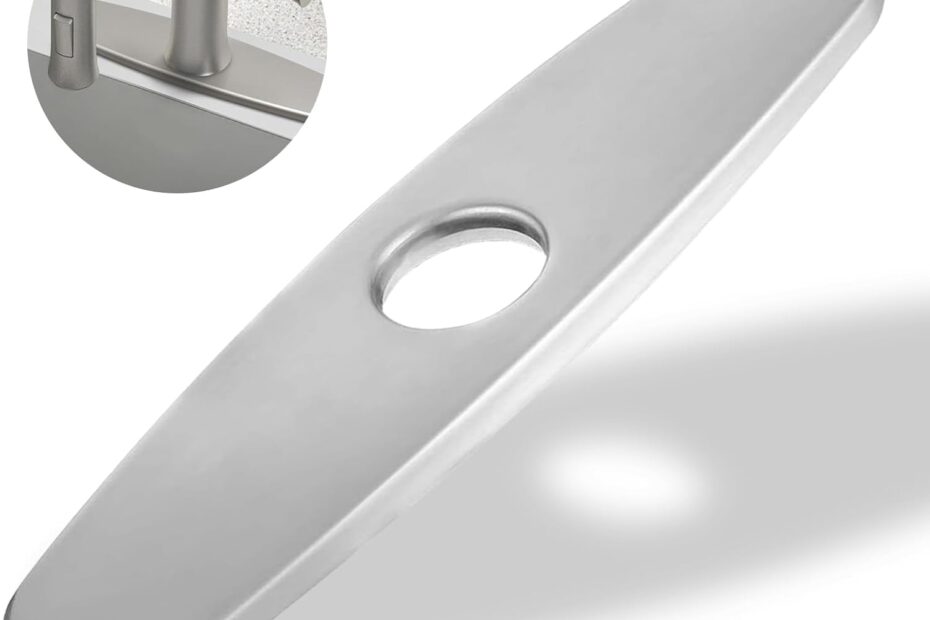
Tools and Materials Required
Before diving into the installation process, make sure you have everything you need. Here’s a handy table for quick reference:| Tool/Material | Purpose |
|---|---|
| Adjustable wrench | Tightening and loosening nuts |
| Basin wrench | Reaching tight spaces under the sink |
| Plumber’s tape | Sealing threads to prevent leaks |
| Bucket or small container | Catching any residual water |
| New kitchen faucet | The main attraction |
| Towel or rag | Wiping spills and cleaning up |
| Silicone sealant | Sealing around the faucet base if necessary |

Step-by-Step Installation Guide
Step 1: Turn Off Water Supply
First things first, safety is key. Locate the water valves under the sink and twist them clockwise to shut off the water supply. Turn on the faucet to ensure water flow stops completely.Step 2: Disconnect the Old Faucet
Detach the water supply lines: Use the adjustable wrench to loosen the nuts connecting the water lines to the faucet. A bit of residual water might spill, so have that towel and bucket ready! Remove the mounting nuts: Using the basin wrench, unscrew the mounting nuts holding the old faucet in place. This might require a bit of effort if the nuts are old or corroded. Lift out the old faucet: Your old faucet should now lift out easily. Don’t forget to clean the area where the old faucet was sitting.Step 3: Prepare the New Faucet
Which type of faucet did you choose? Ensure you have the correct fittings. Single-hole models are excellent for a deck plate-free installation.Step 4: Install the New Faucet
Insert the faucet: Slide your new faucet and its supply lines through the sinkhole. Secure the faucet: From underneath the sink, use the provided hardware to secure the faucet to the sink. Tightening these nuts can be tricky without the basin wrench.Step 5: Connect the Water Supply Lines
Now, attach the hot and cold water supply lines to the corresponding valves. Use plumber’s tape as needed to ensure a water-tight fit.Step 6: Check for Leaks
Turn the water valves back on slowly and check for any leaks. No leaks? You’re in business!Step 7: Final Adjustments
Sometimes faucets need little tweaks. Align the faucet properly and ensure it’s secure and stable.Installation Tips and Tricks
Use Plumber’s Tape
Always use plumber’s tape on threads where water connections are being made. One oversight can lead to a nasty leak.Keep a Towel Handy
I found this simple but crucial. Water tastes freedom when it gets a chance! Prepare for rogue spurts.Save Alternative Tools
Don’t have a basin wrench? Try needle-nose pliers in a pinch! Though not ideal, they can offer a workaround.Prevent Future Headaches
I like coating the base of the faucet with a thin layer of silicon sealant. It’s a preventative step well worth the effort.Conclusion
Installing a kitchen faucet without a deck plate isn’t something reserved for professional plumbers alone. With this step-by-step guide, a few basic tools, and some patience, you can transform your kitchen sink and achieve that modern, uncluttered look. Not only does following these steps help you save money, but it also gives you a sense of accomplishment in improving your own living space. The experience itself is rewarding. Familiarizing myself with the components and problem-solving on the go provided valuable insights. Feel empowered and ready to tackle those kitchen upgrades head-on!P.S. Don’t be discouraged by small hiccups along the way. They’re part of the learning curve, and every challenge faced is a step closer to becoming a home improvement maestro. Happy faucet installing!
