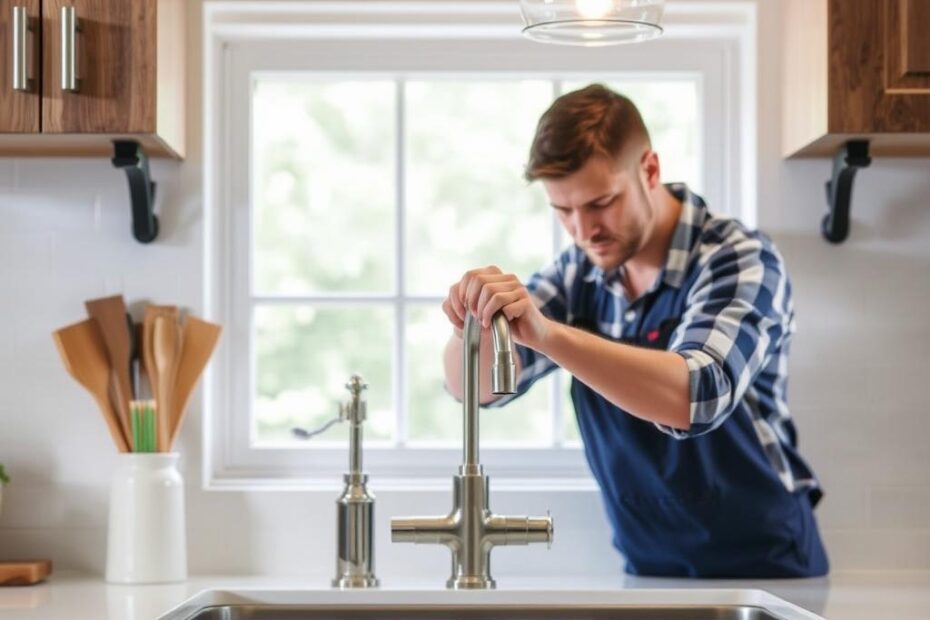
Replacing a kitchen faucet might seem like a daunting task, but it’s actually quite manageable with the right tools and some basic know-how. Hi there, I’m an expert on kitchen faucets, and today I’ll walk you through this process step-by-step.
Why Replace a Kitchen Faucet?
A kitchen faucet is not just a necessity but a central piece of your kitchen’s character. Over time, faucets can wear out or become outdated. Here are a few reasons to consider replacing yours:
- Leaks and Drips: This can lead to higher water bills and water damage.
- Style Upgrade: A new faucet can modernize your kitchen.
- Functionality: Older models might lack features like pull-out sprayers.
Let’s get started!
Tools and Materials Needed
Before you begin, make sure you have the following tools and materials. They will ease the process significantly.
| Tool | Purpose |
|---|---|
| Basin Wrench | To reach nuts under the sink |
| Plumber’s Putty | To seal the new faucet |
| Tape Measure | For measurements |
| Bucket | To catch any water |
| Adjustable Wrench | To tighten and loosen connections |
| Teflon Tape | To ensure watertight seals |
| New Faucet | Self-explanatory |
Most of these tools are readily available at hardware stores. You may already have some in your toolbox.
Step-by-Step Guide
1. Turn Off the Water Supply
First things first, turn off the water supply. Failing to do so can turn your kitchen into a swimming pool, and nobody wants that. You’ll find the shut-off valves under the sink; they usually look like little knobs. Turn them clockwise until they can’t be turned anymore.
2. Disconnect the Water Lines
Next, it’s time to disconnect the water lines. Grab that adjustable wrench and start unscrewing the hot and cold water supply lines from the faucet. Remember to have that bucket handy to catch any water that might spill out.
3. Remove the Old Faucet
Here comes the fun part — removing the old faucet. Use your basin wrench to unscrew the mounting nuts that are holding the faucet in place. Once they are loose, you should be able to lift the old faucet right out.
4. Clean the Area
Now that the old faucet is out, take a moment to clean the area. Old plumber’s putty or grime might be left behind. A clean surface ensures a better seal for your new faucet.
5. Install the New Faucet
Finally, it’s time to install the new faucet. If your faucet package came with a gasket, place it between the faucet and the sink. Slide the faucet into place and secure it from underneath with the mounting nuts. Tighten them hand-tight and then give them an extra quarter turn with your wrench.
6. Connect the Water Lines
Reconnect your hot and cold water lines to the new faucet. Use the Teflon tape on the threads to ensure a watertight seal.
7. Turn On the Water Supply
Last but not least, turn the water supply back on. Check for any leaks. If everything’s good, you are done! Test the faucet to make sure it works correctly.
Troubleshooting Common Issues
Replacing a faucet is straightforward, but you might encounter some hiccups. Here are common problems and their solutions:
| Problem | Solution |
|---|---|
| Leaking Water | Ensure all connections are tight; add more Teflon tape if necessary. |
| Low Water Pressure | Check for debris in the aerator; clean if needed. |
| Faucet Not Aligning Properly | Recheck the installation guide; realign and tighten. |
Tips & Tricks for an Easier Replacement
- Use Two People: Sometimes, having an extra set of hands can be very useful.
- Make a List: Listing all the tools and parts you need before starting saves time.
- Take Photos: Document how the old faucet was connected to use as a reference.
When to Call in a Professional
Though replacing a kitchen faucet is a DIY-friendly job, there are times when calling in a professional is the best recourse. If you encounter these scenarios, don’t hesitate:
- Old Plumbing: Houses with old plumbing can have complications.
- Complex Faucet Systems: Some faucet systems can be complex.
- Persistent Leaks: If leaks persist despite your best efforts, call in the pros.
Conclusion
Replacing a kitchen faucet is not rocket science. With a little patience and this handy guide, you can do it yourself and save some money. Remember, the key is preparation and having all the necessary tools on hand.
Hope this guide has been helpful!
Cheers to your next kitchen upgrade!
